
Getting started with RentalPilot
A short checklist to get your rental business live — set up your booking site, add your fleet, set your prices, connect Stripe, and share your booking link.
New accounts begin with a focused business setup flow. Preparing your business is free; starting normal rental operations requires a verified paid subscription. You will see setup instead of the usual operator menu until that paid access is available.
The checklist below is for operators who already have access to the admin, including existing accounts that retain their current terms. It also helps you find the settings again after setup.
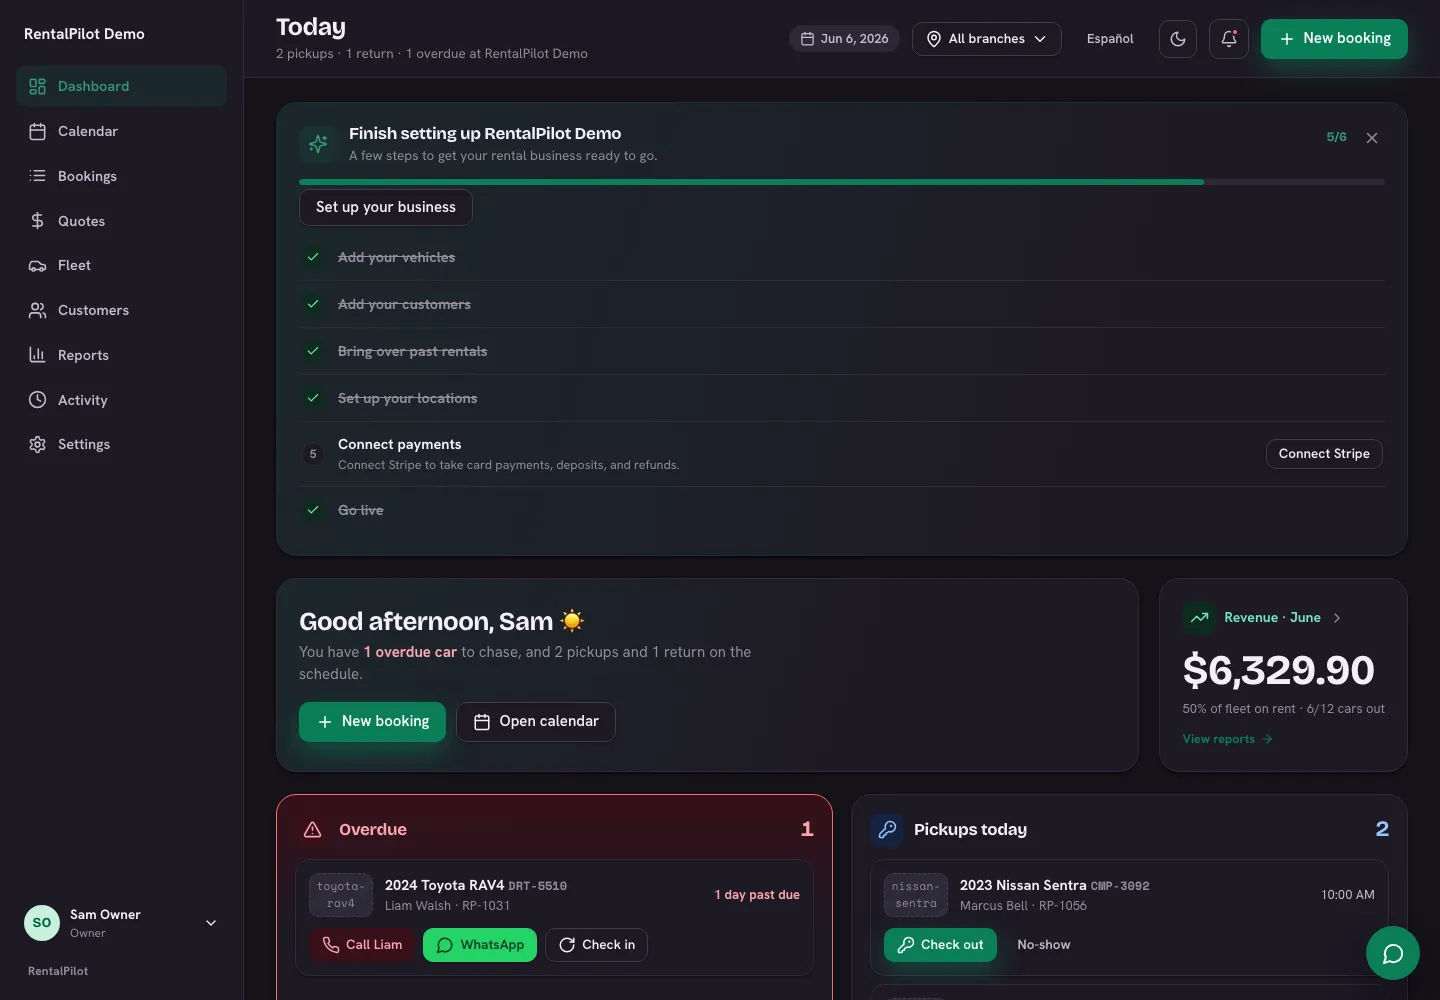
1. Sign in
Go to app.rentalpilot.io and continue through the secure sign-in page. You can use Google or another available sign-in method. If that verified email does not belong to a RentalPilot account yet, we ask for your company details and terms acceptance, then take you directly into business setup.
Existing accounts retain their operator, role and branch access when they sign in this way. Signing in never creates a second account for an email that is already registered.
Everything below lives in the operator app’s left-hand menu.
2. Brand your booking site
Open Settings → Booking site. This is the public page customers book through. Set your headline, subtitle, hero image and brand colour — there’s a live preview as you type. Your booking site stays on-brand without any design work.
3. Set up your locations
Most operators start from a single location, which is ready out of the box. If you run from more than one branch, open Settings → Locations to add them — each branch has its own fleet, business hours and tax, and holds the pick-up/drop-off points customers choose from. See Locations & pick-up points.
4. Add your fleet
Open Fleet → add a vehicle for each car: make, model, daily rate, location and any photos. Already have your fleet in a spreadsheet? Use Settings → Import to bring in your vehicles (and customers) from a CSV in one go.
5. Set your pricing
Open Settings → Pricing & catalog to set the rules that drive every quote and booking:
- Seasons — raise or lower rates for date ranges (e.g. high season)
- Length discounts — a lower rate for longer rentals
- Extras — add-ons like a child seat or GPS, charged per day or one-time
- Currency — what renters see and are charged in. Set this before your first booking — it isn’t converted retroactively
- Tax — your local rate and what it’s called on the invoice
Optional insurance tiers the renter picks at checkout live under Settings → Reservations → Protection plans — see Protection plans (CDW). Security-deposit defaults are on the same tab: Deposits & refunds.
You don’t have to set all of these — defaults work fine to start.
6. Connect Stripe to get paid
Open Settings → Connections and connect your Stripe account so you can take card payments and deposit holds, paid straight into your own bank. See Connect Stripe to get paid for the full walkthrough — there are no API keys to copy.
7. Share your booking link
Once your fleet and prices are in, share your booking-site link with customers, add it to your website, or send a quote link to a specific customer. Bookings, the calendar and reports all update automatically as reservations come in.
Stuck on any step? Browse the rest of the help centre or contact us — we’re happy to help you get set up.